
Got an amazing app idea but don’t know where to start? You’re probably tempted to dive deep into high-end design. Of course, it’s fun, but without any insights to start with, you’ll quickly find yourself lost. However, there’s a secret that can help.
That secret is Low fidelity wireframes! They are sketched blueprints for your project. Think of building a new house. You wouldn’t just start building directly. You’ll create a house map for each room and where to place the doors. Low-fidelity wireframes are the same but for your app or site.
It’s a way to brainstorm and explore ideas before moving on. It’s also a powerful technique that brings designers, developers, and stakeholders under one umbrella.
Learning how to create a web or mobile app wireframe can save you time, money, and endless revisions. So, in our blog, we’ll walk you through the best practices and steps to help you create powerful wireframes.
Read on to discover other powerful tips that can help you in your wireframing journey!
What is a Wireframe?
We’ve all had that experience of doodling on our books. Wireframing is just another form of doodling but with meaning. In the world of design, a wireframe is a rough sketch of your project. You can create this sketch with pen and paper or the use of tools. A wireframe allows you to:
- Experiment with different layout ideas
- Map out the user journey by adjusting button and UI element placements
- Create the structure and understand the functionality
- Explore various color and theme choices
- Visualize your idea with a quick and simple method
Think of a wireframe as brainstorming before committing to high-end design. This method helps you avoid mistakes that can be costly later on.
In 2024, the global Wireframing Software Market size was approximately USD 5.55 billion. These numbers show just how many companies and professionals create wireframes.
What is a Low Fidelity Wireframe?
Wireframes mainly have two types. We’re already learning about a low fidelity wireframe. The other is a high fidelity wireframe. A low fidelity wireframe is at the base level. It allows you to:
- Focus on the structure and layout of your app
- Plan out where the buttons and UI elements go
- Easily make changes and explore several possibilities
A low fidelity wireframe is all about structuring and functionality. So, here’s what it does not allow:
- These wireframes are black, white, or gray. You can’t add colors.
- You add simple boxes for button placement. You cannot add detailed buttons.
- You only add notes across the wireframe. There is no typography.
- It’s just a rough arrangement of UI elements and the layout. There’s no need to check spacing or positioning.
All these things are possible in a high fidelity wireframe. However, focusing on the basic structure is important. So, it’s vital to start with a low fidelity wireframe.

How can creating Low Fidelity Wireframes help?
A low fidelity wireframe can be your secret to a successful app. 75% of users make judgments on a company’s credibility through their website design. This is where wireframes can work wonders!

Quick design process
Low fidelity wireframes are simple and quick. They let you visualize the idea you have in mind with little to no effort. This will allow you to focus on the concept except the details.
Easy Iteration
So, these wireframes are rough sketches. This means that it’s effortless to make any change. You can even get opinions and change whatever you want without complex adjustments.
Focus on structure
A low fidelity wireframe takes away the ability to add typography and colors. Thanks to this, you can focus on the navigation and user flow. This ensures a strong foundation for design.
Improves team collaboration
You can’t entirely make a wireframe alone when the whole team is involved. Collaboration is easy. It allows you to align everyone on the project vision and provide early input.
Blueprint for prototyping
These wireframes serve as a starting point in the design process. So, they become the initial blueprint before moving on to high fidelity wireframes and prototypes.
What are the best practices to create good low fidelity wireframes?
By following these best practices for wireframes, you can build powerful blueprints for your app or website without errors. Let’s see what these best practices are:
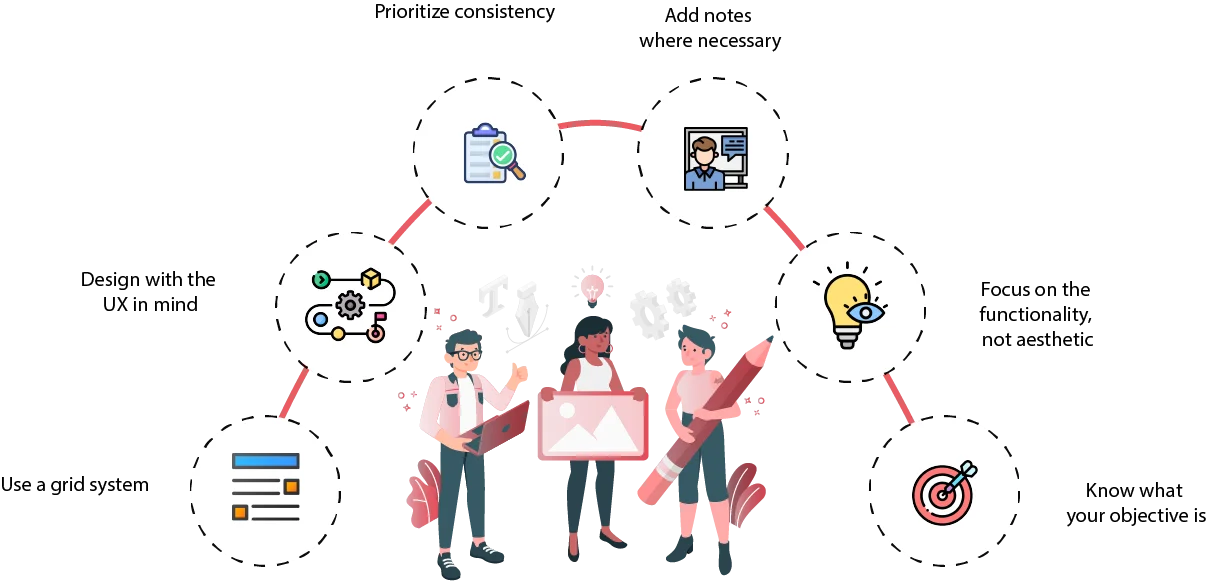
Know what your objective is
If you don’t know who you’re designing and building for, how will you know your app will be successful? You have to prioritize understanding your objective before anything else.
Focus on the functionality, not aesthetic
Low fidelity wireframes are all about structure and design. We can worry about the aesthetic later on. In this stage, we’re only meant to decide the basic layout.
Prioritize consistency
Consistency builds credibility for a brand. Just imagine a website with distinct elements and fonts on every page. You would probably be confused and suspicious. Hence, you should focus on being consistent with your wireframes.
Use a grid system
If you’re using a tool, it would be helpful to utilize a grid system. It can help you place the UI elements and buttons in the perfect space.
Add notes where necessary
In low-fidelity wireframes, you don’t have to worry about adding typography and text. This is more about adding rough notes, example, “Navigation bar link goes here.”
Design with the UX in mind
The initial wireframe design indirectly impacts the user experience. UI placements affect a user’s experience on your page. Good UI can result in 200% conversions.
Additional tips to help you build better low fidelity wireframes
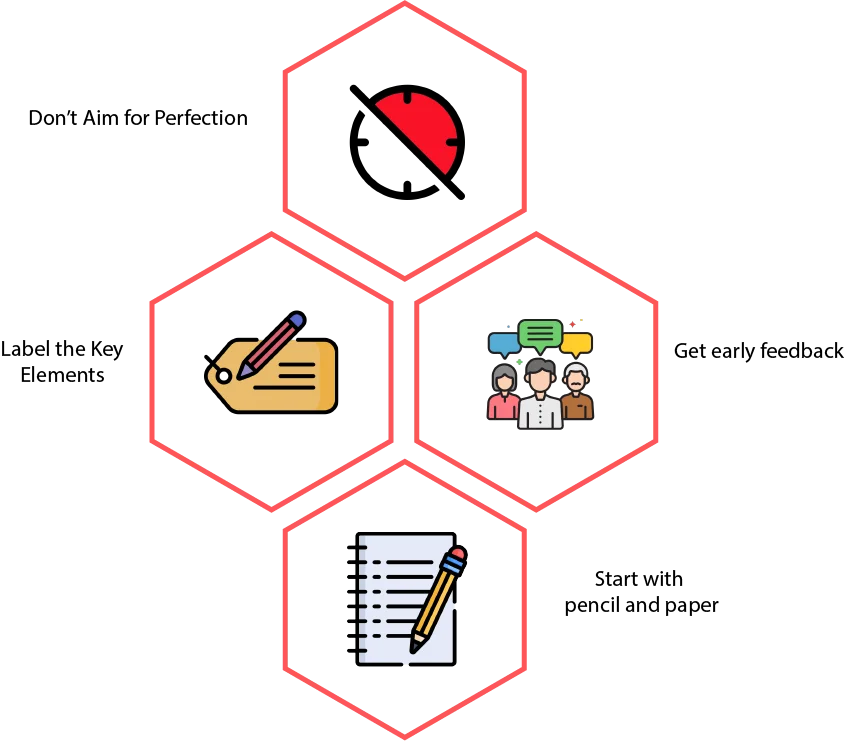
Don’t Aim for Perfection
Wireframes aren’t meant to be perfect. If you start with perfection in mind, your low-fidelity wireframe won’t turn out as intended. Remember that a wireframe is only meant to be a rough sketch of your final product.
Label the Key Elements
You may be designing in flow and think you’ll remember everything. That’s not always the case, though, and later on, you might forget which button means what. So, just add brief notes like “Login Form Here” or “Search Bar” to provide clarity.
Get early feedback
Feedback and insights are very powerful tools when designing anything. If you can get some volunteer users on your side, that would be excellent! Think of gaining insights from the exact party you’re building for!
Start with pencil and paper
Pencil and paper give you more command over what you’re drawing and designing. If your idea is in your brain, then using this organic combo can help you brainstorm quickly. Lay out your ideas on paper, then move on to the tools.
What are the steps for low fidelity wireframing?
We know it sounds pretty easy. Yet wireframing requires you to follow a few essential steps. This helps you ensure that you’re doing everything right. Whether it’s a website or mobile app wireframe, follow these steps to ensure success:

Step 1: Define the main purpose
This isn’t just about wireframes. It’s about your whole project. Sure, you know you’re designing an educational app, but who is your audience? Think about what features you want your app to have. This will also help you decide how many pages you’ll need. You can move to the next step after you have the project goals laid out.
Step 2: Conduct proper research
In this step, you’ll have to prioritize user and market research. Market research allows you to conduct proper competitor analysis. This way, you’ll be able to understand where your rivals are lacking to create a powerful app. User research will help you understand your audience. This is how you’ll know their needs and expectations.
Step 3: Choose a wireframing mode
After you have a plan, it’s time to start wireframing. Here, you’ll have to decide your wireframing mode. If you’re going with a tool, you need to decide which one is working for you. We’ve mentioned two popular low fidelity wireframing tools below. The other method is using a pen and paper or a whiteboard and marker. Choose whatever works for you!
Step 4: Create the layout and design
Now, you’ll begin. Start by selecting (or drawing) a screen size. It needs to be the right size for accurate representation and placement. Decide the layout and structure in this step. Here, you can experiment with different shapes and sizes. Place the UI elements and buttons. This way, you’ll end up creating the blueprint that you need for your high-end design.
Step 5: Get feedback, iterate, and finalize
Although it’s just a rough sketch, it’s valuable. You can use it to gather feedback. Later on, you can even use it to create a prototype for user testing. But first, in this step, you’ll have to iterate and improve your design so that you finally get the initial project map you need. After this, you can document and finalize your wireframe.
Following these steps can allow you to build clear and concise wireframes. A good wireframe can even enhance the user experience later on.
What are the popular low fidelity wireframing tools?
Low fidelity wireframing is quick and easy, but only when you find the tool that works perfectly for you. A tool where you’re struggling to build a wireframe properly can be damaging. It’s vital to create the “perfect low fidelity wireframe” as an initial sketch for all the work you’ll do later on. Here, we’ve stated the easiest and most popular tools to start wireframing:
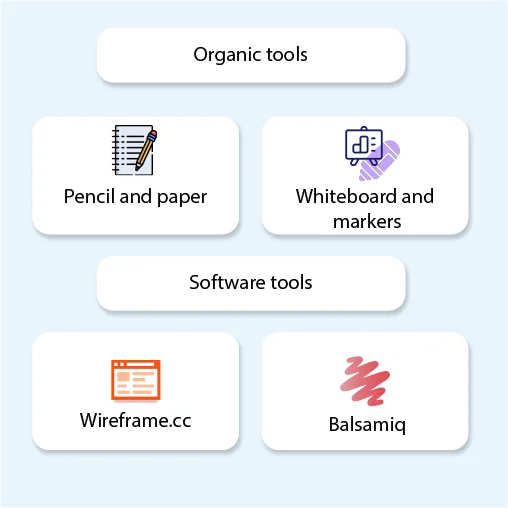
Organic tools
Organic tools are the easiest to access. They’re usually within reach and accessible anywhere. Sometimes, organic tools can make collaboration and brainstorming together easier. Here are the two most common organic tools:
Pencil and paper
The classic pencil and paper combo is here to save the day. Of course, you’ll also need an eraser, but that goes without saying. Just draw a screen size and start placing your UI elements and button placements.
Anytime you think something would look better elsewhere, you can simply erase and redraw. This will allow you to visualize what’s in your mind.
Whiteboard and markers
You’ll also need a duster here, but using your hand to wipe and adjust could also work just fine! A marker glides so easily on a whiteboard that visualizing and brainstorming here would be effortless and straightforward.
This method will allow you to collaborate with your team and get additional insights too. This will help create a wireframe that considers everyone.
Software tools
Now, to think about it, you are creating wireframes for a digital product. So, no matter what method you select, it’ll end up on the screen. These tools are also easy to access and make collaboration simple.
Wireframe.cc
Wireframe.cc is a minimal wireframing tool that allows you to focus on the structure and layout of your project. It’s a user-friendly tool that works great for beginners. It’s a cloud-based platform that allows you to “sketch” your wireframes with a mouse.
Many people aren’t that good at drawing by hand. This is where Wireframe.cc can help them and act as a powerful yet simple tool.
Balsamiq
Balsamiq is a low fidelity wireframing tool with a special focus on UI elements and design. It allows you to use drag-and-drop components for early-stage visualization and brainstorming. The platform allows you to collaborate with your teammates.
It offers pre-built UI components for you to experiment with. Additionally, you can conduct user testing for your web or mobile app wireframe with Balsamiq.
You can use both organic and software tools if you’d like a comprehensive solution.
Create your project with Linkitsoft
Wireframing may be a fun and easy process, but what comes after is not as easy or quick. In mobile app development, it takes a lot of iteration and user testing to create the perfect app. One that enhances the user experience and does not crash. The same goes for a website; it should be responsive and load quickly. But how can you save time and effort when this is so complex?
You can do so by partnering with Linkitsoft! Our software company can help you create responsive and impressive websites and mobile apps.
Why us?
Linkitsoft understands the struggles in designing and developing a digital project. Hence, we’ve learned how to manage it. Our experience and capabilities to stay up-to-date with the latest trends position us as a strong software house in the technical industry. By partnering with us, you:
- Get a supportive partner who collaborates with you and helps you figure out your goals.
- Obtain responsive and bug-free apps and websites with ongoing maintenance.
- Position yourself in the industry as a credible business with amazing digital products.
Get in touch with us and explore the possibilities for your mobile app or website. We even deal with kiosks and smart vending machine software. So, no matter what you need, we’re here to help. Let’s create wireframes together and kickstart the development journey!


