
Studies show that 21% of users delete an app after a single use. Why? Often due to a poor experience or bugs, the stakes in today’s app market are high, and mistakes can be quite costly.
Just think about it: A startup decides to invest heavily in building a mobile app that will change the face of their industry. They work on it for months and proudly release it, expecting huge success. However, the app is bug-ridden, users complain, and feedback is lukewarm. What happens next? Money lost, reputation tarnished, and opportunities for growth missed.
You may wonder, what is it that makes one succeed and the other fail? Is it the idea, the design, or the way it is built? The secret actually lies in following the mobile app development lifecycle. This process ensures that every step, right from an idea to its launch, is done correctly.
As a trusted mobile application development company, we will update you on how to make your next app successful. This ultimate guide provides the best practices; actionable tips, and also real examples.
Key Takeaway
After reading this blog post you will know
- The app development lifecycle provides a clear plan for creating mobile apps.
- Knowing the steps from ideation to launch ensures your project’s success.
- Proper planning, user-focused design, thorough testing, and ongoing updates are vital.
- App development costs vary, but understanding them helps manage your budget.
- Choosing the appropriate development method, such as Rapid Application Development (RAD), will help in smoothing your process.
What is a Mobile App Development Lifecycle?
You might be wondering, what is a mobile app development lifecycle? Just like how you would want to go on a road trip, which you preplan, you probably wouldn’t get in the car and just drive without knowing where you are going or exactly how to get there. And that same thought process is applied in the building of an app.
This lifecycle represents a step-by-step procedure that will help your app reach the users, be highly performant, and meet your business objectives.
Now, let’s break this down with the help of an example. Imagine owning a bakery and wanting to develop an application for placing online orders.
- Idea phase: This is like a decision to bake a cake for a certain event.
- The Design Phase: You choose the recipe—ingredients, flavors, and decorations.
- The Development Phase: This is the baking and assembly.
- The Testing Phase: You taste the cake to make sure it’s just right.
- The Launch Phase: You present the cake to your guests.
By following the lifecycle, you ensure your app is as delightful and functional as a perfectly baked treat, making customers return for more.

Stages of Application Development
Creating a mobile app is like building something amazing step by step. The process is called the mobile app development lifecycle. It includes several stages that help you make an app that works well, is easy to use, and meets your needs. Let’s explore each stage in detail.
Stage 1: Strategy Development
This is the first step, where your app idea starts to become real. Think of it as drawing a blueprint for a house. Each decision you make here sets the stage for the app’s success. A solid plan at this point helps everything run smoothly later.
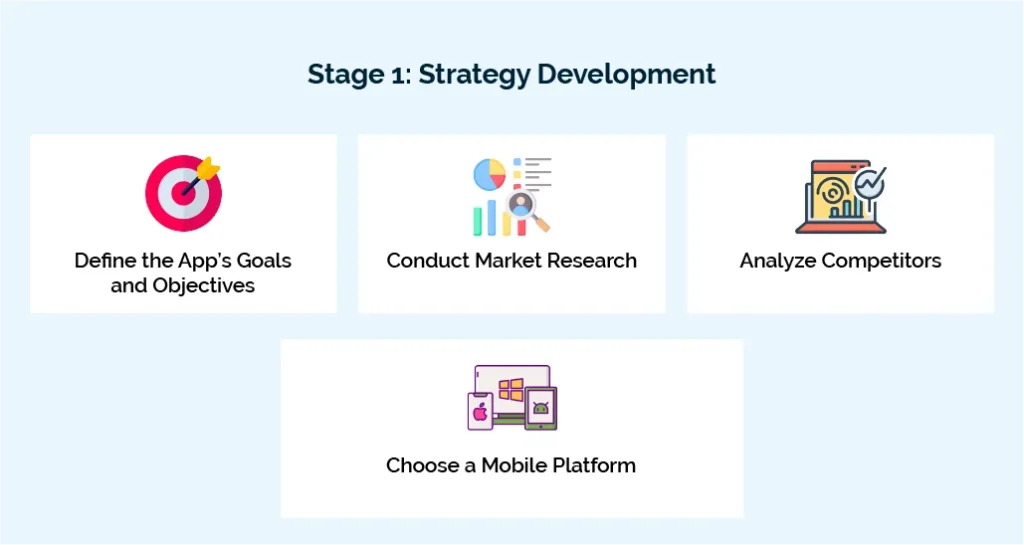
Define the App’s Goals and Objectives
Start by figuring out the problem your app will solve.
Ask yourself, What is this app’s purpose? and What do I want to achieve?
Setting clear goals keeps you on track as you move forward. These goals also help ensure the app supports your business needs.
Conduct Market Research
Before building your app, get to know your audience.
What do they like?
What challenges do they face?
By learning this, you can design your app to match what they need. Market research also helps you plan your app’s cost and decide what features to include.
Analyze Competitors
Look at other apps like the one you want to create. What are they missing? Are there features users want but don’t get?
Understanding your competitors’ weaknesses lets you create something better. It’s a great way to make your app stand out and attract users.
Choose a Mobile Platform
Decide if you want your app on iOS, Android, or both. Think about your audience, the app’s features, and your budget. If you need your app quickly, you might use Rapid Application Development methods. Picking the right platform makes sure your app fits your users’ preferences.
This is just the first stage, but it’s the most important. A clear plan, solid research, and smart choices here will help you build an app that’s both useful and successful.
Stage 2: Design
The design stage is where your app starts to come to life. It’s all about creating a smooth user experience (UX) and an attractive user interface (UI). This stage is key to making sure your app works well for users and meets your business goals.
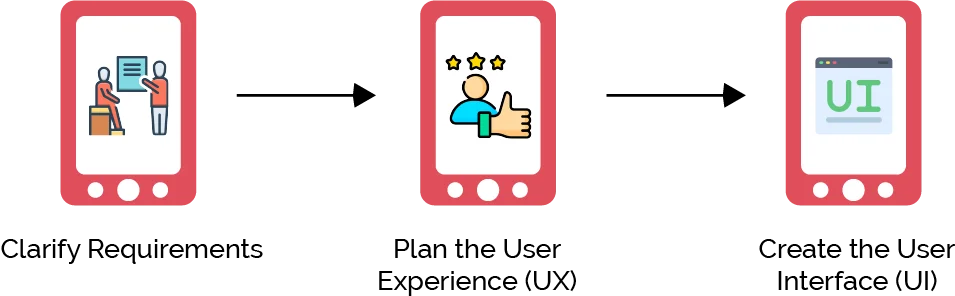
Clarify Requirements
Start by reviewing all the project details. Hold meetings to answer questions and gather clear requirements. This teamwork helps ensure that your development plan matches the client’s needs. Clear requirements save time and prevent confusion later in the process.
Plan the User Experience (UX)
Next, outline how the app will work. Map out how users will move through the app and plan for all possible scenarios. A well-thought-out UX makes the app easy to use and avoids costly changes later.
Create the User Interface (UI)
Good design matters. Create a simple style guide to keep the app’s look consistent. Design screens that work for both the client and the users. Work closely with developers to make sure your designs are realistic. A clean and functional UI makes the app easier to use and more enjoyable for users.
By following these steps, you combine great design with strong functionality. This ensures your app looks good, works well, and makes users happy.
Stage 3: Development
Once the strategy and design are complete, it’s time to move to the development stage. This is the heart of your app’s creation. In this step, the design turns into a working app. It’s all about building the front end and back end, ensuring everything works together smoothly.
This stage is one of the most important in app development. It demands a lot of focus to achieve the project’s goals. The development stage has two key parts:
- Front-end development
- Back-end development
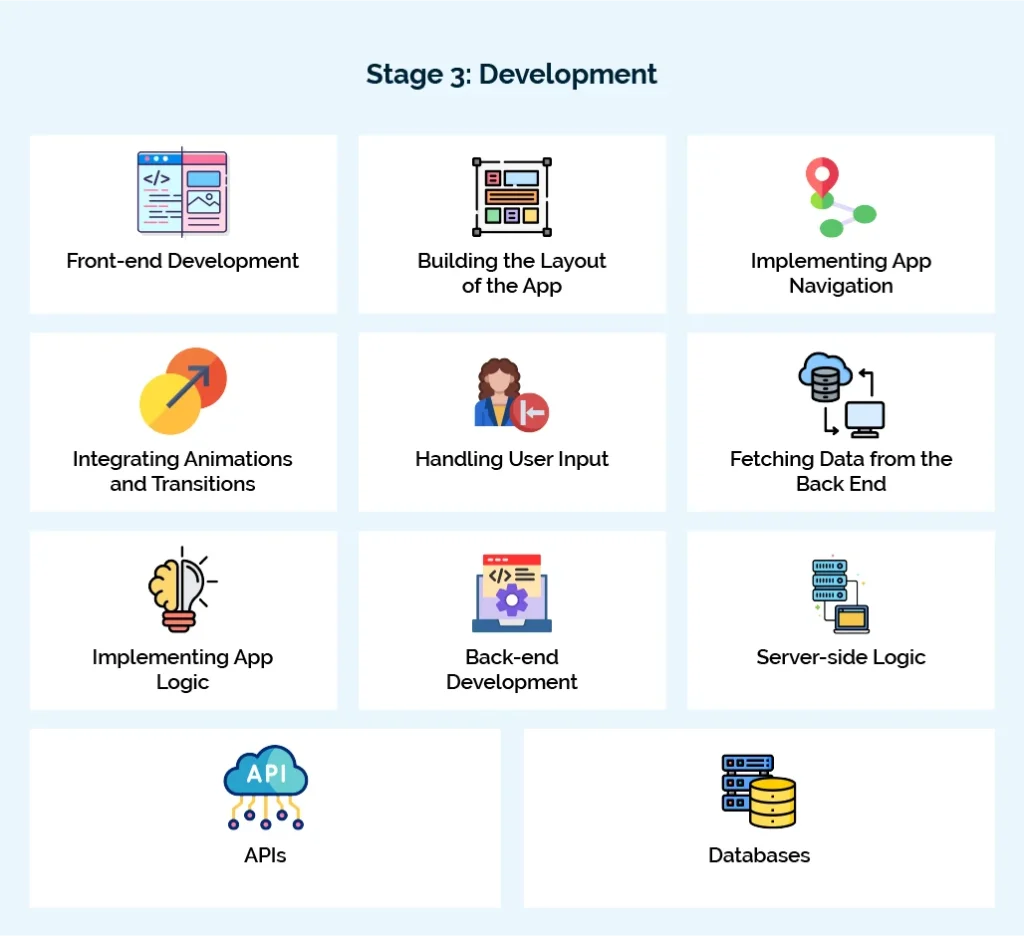
Front-end Development
The front end is where users interact with your app. It’s what they see and use. Front-end developers build the visual and interactive parts of your app based on the design. Let’s explore the key steps:
Building the Layout of the App
A strong layout is essential. Developers structure the app carefully, following the design plan. This ensures the app looks great and works well. A clear, organized layout makes the app easy to use and visually appealing.
Implementing App Navigation
Navigation is crucial for a smooth user experience. Developers create menus, buttons, and tabs that guide users through the app. Easy-to-use navigation helps users find what they need quickly, making their experience enjoyable and frustration-free.
Integrating Animations and Transitions
Animations and transitions make the app lively and fun. Developers add smooth, responsive effects to enhance interactions. These animations don’t just look good—they also improve usability and give the app a professional touch.
Handling User Input
User input is key for interaction. Developers program forms, buttons, and gestures to process actions effectively. This ensures users can enter data or make selections without issues. Reliable input handling makes the app practical and easy to use.
Fetching Data from the Back End
The front end connects to the back end to fetch data. Developers make sure the app retrieves information quickly and securely. This keeps the app updated and functional in real-time.
Implementing App Logic
App logic ensures everything runs as it should. Developers code the rules and features that make the app work. Strong app logic ensures the app meets both business goals and user needs.
Back-end Development
The back end is the engine of your app. It powers all the behind-the-scenes operations. A well-structured back end ensures the app is functional, secure, and scalable. Developers often use tools like Node.js and databases like MySQL. Cloud-based services can also reduce costs and improve security. Let’s break this stage into steps:
Server-side Logic
Server-side logic manages workflows and keeps the app running smoothly. Developers write code to handle user requests, enforce rules, and ensure the app performs well, even under heavy traffic.
APIs
APIs (Application Programming Interfaces) are the bridges between the front end and the back end. Developers create secure APIs to allow data to flow easily. APIs help the app fetch, update, and transfer information efficiently.
Databases
Databases store and organize your app’s data. Developers set up reliable databases to keep data secure and accessible. This ensures the app handles real-time updates and avoids data loss.
The back end forms the foundation of your app’s success. Whether you choose Rapid Application Development or another method, investing in the back end is essential. It ensures your app is secure, scalable, and ready to perform.
Stage 4: Testing
Testing is the heart of creating a rock-solid mobile app. And let me tell you why this step is absolutely crucial for your app’s success.
Think of testing like a health check-up for your app. Besides ensuring everything runs smoothly, it protects your app from potential issues. Furthermore, a well-tested app means happy users and fewer headaches down the road.
Every single feature needs a thorough checkup to make sure it works perfectly. Moreover, testing helps you catch problems before your users do.
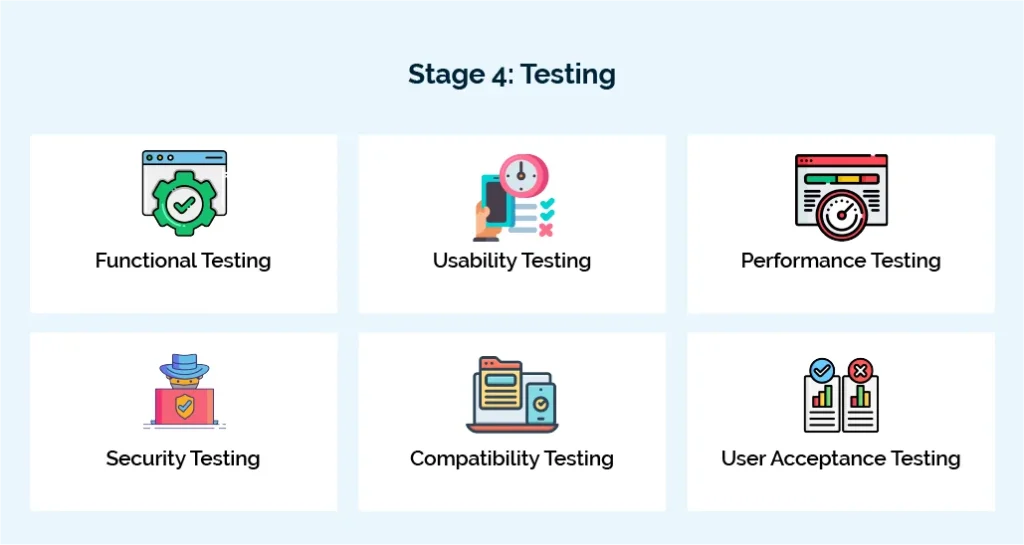
Functional Testing
First off, functional testing is your app’s quality control. Here, you’ll verify every single feature works exactly as planned. And I mean every single detail matters. What’s more, you’ll check:
- Input validation
- Error handling
- Feature performance under different conditions
Usability Testing
Next up is usability testing. Equally important, this step helps you walk in your users’ shoes. You’ll simulate real-world scenarios to spot any confusing or frustrating parts of your app. Furthermore, this testing ensures your app feels intuitive and user-friendly.
Performance Testing
Performance testing is where you push your app to its limits. Then, you’ll understand how fast and stable your app is. Besides checking normal conditions, you’ll also test extreme scenarios. Moreover, this helps you:
- Identify speed bottlenecks
- Optimize resource use
- Ensure smooth performance under pressure
Security Testing
Security testing is your app’s protective shield. And trust me, this is critical. You’ll simulate potential threats like hacking attempts. Furthermore, this step protects sensitive user data from potential breaches. What’s more, it gives users peace of mind.
Compatibility Testing
Compatibility testing ensures your app works everywhere. Again, this means checking performance across:
- Different devices
- Various operating systems
- Multiple web browsers
This testing guarantees a seamless experience for every single user.
User Acceptance Testing
User Acceptance Testing is your final checkpoint. And it’s perhaps the most important one. Here, you’ll gather real user feedback. Furthermore, this ensures your app meets actual user expectations. Moreover, it confirms the app aligns perfectly with your business goals before launch.
By focusing on these testing types, you’re not just creating an app. You’re crafting a top-notch digital experience.
Stage 5: Deployment
The deployment phase is the final step in the app development lifecycle, where your app goes live. This stage transforms the work of previous stages of application development into a usable product. Here’s what you need to focus on:
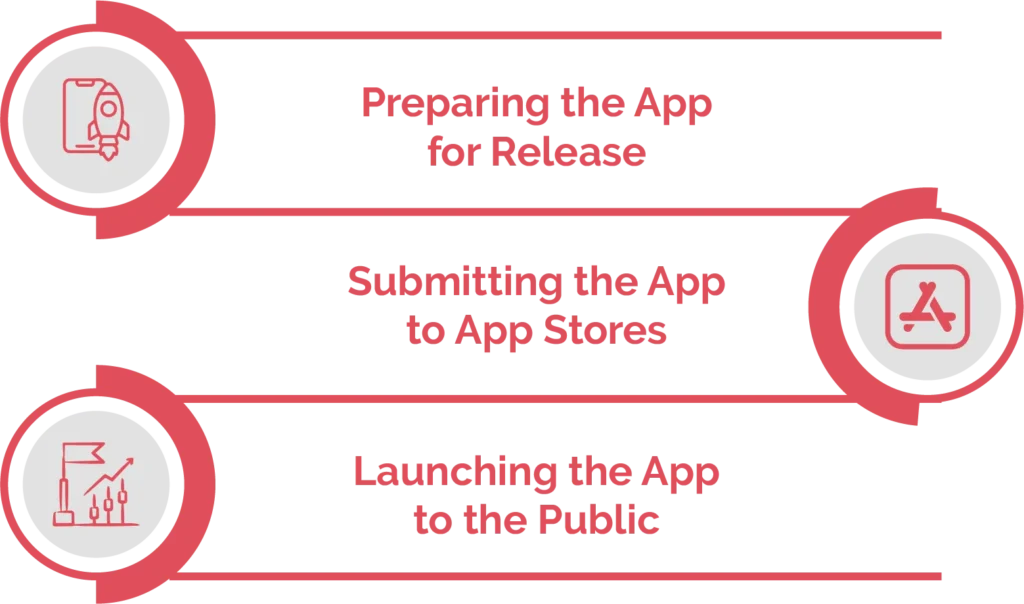
Preparing the App for Release
You must optimize the app for performance and ensure it meets store guidelines. This includes debugging, finalizing configurations, and creating metadata like descriptions, screenshots, and keywords. These steps enhance visibility and usability.
Submitting the App to App Stores
You upload the app to platforms such as the App Store and Google Play Store. This requires following submission policies, including signing the app, meeting legal requirements, and conducting final tests.
Launching the App to the Public
After approval, you make the app accessible to users. You may perform a phased release to monitor performance and address any emerging issues. This step ensures a smooth transition from development to public availability.
Proper deployment minimizes the overall cost for application development by avoiding delays or rejections. It concludes the Software Development Life Cycle effectively, ensuring the app is ready for real-world usage.
Stage 6: Maintenance and Updates
Once the app is launched, your work doesn’t stop. Maintenance is a critical part of the app development lifecycle, ensuring long-term success. Here’s what you need to prioritize:

Preparing the App for Release
First, get the app ready for release. Make sure it works well and meets all app store rules. Fix any bugs, set up final configurations, and create important details like app descriptions, screenshots, and keywords. These steps help users find and enjoy your app.
Submitting the App to App Stores
Next, upload your app to stores like the App Store and Google Play. Follow all submission rules. This includes signing the app, meeting legal requirements, and doing final tests.
Launching the App to the Public
Once approved, launch your app for users. You might release it slowly to check for problems and fix them quickly. This helps ensure the app works well when people start using it.
Releasing Updates
Frequent updates address issues, introduce new features, and enhance security. Use Rapid Application Development principles to deploy updates quickly. Keep the app compatible with evolving operating systems and devices. This keeps users engaged and ensures the app remains relevant in the competitive market.
You should always keep in that good deployment saves money and time. It prevents delays or rejections and wraps up the development process. Your app will now be ready for the real world.
What Are the Factors That Affect App Development Costs?
The cost of creating an app depends on many factors. These factors can affect the amount spent and the time it takes. Understanding these factors will help you budget better. Think about each aspect carefully to get the most value for your money.
When planned well, your app project can be both cost-effective and successful. Let’s explore the main factors that shape app development costs.
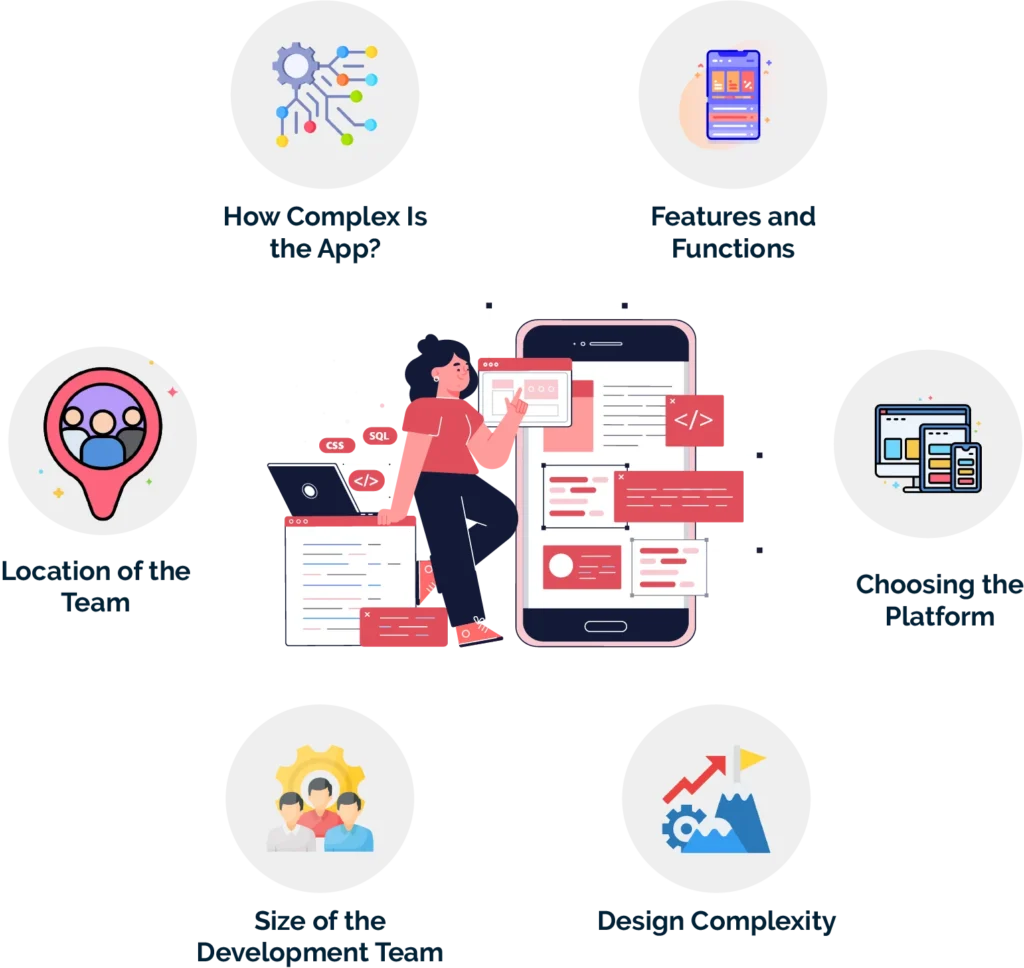
How Complex Is the App?
The complexity of the app has a big impact on the cost. A simple app might cost around $20,000, while a complex one can go over $300,000. For example, business apps with many detailed features usually fall into the higher price range. So, it’s important to know how complex your app will be when planning your budget.
Features and Functions
The more features you add, the more the app will cost. Advanced features like real-time data tracking or connecting with third-party tools can increase costs by 20-50%. This happens because extra features take more time and effort to build. So, if you want many functions, expect to spend more.
Choosing the Platform
The platform you pick also affects the cost. Making an app for both iOS and Android can double your budget since you’ll need separate versions for each. On average, an iOS app costs $50,000 to $300,000, and Android apps cost about the same. The more platforms you choose, the higher the cost will be.
Design Complexity
Good design matters, but it can also raise the cost. A simple design costs less but might not grab users’ attention. A great user interface (UI) and user experience (UX) can cost between $5,000 and $100,000. However, these designs can help keep users coming back. Research shows that well-designed apps keep 70% of users engaged
Size of the Development Team
The size of your team affects both speed and cost. A larger team can finish faster but costs more to manage. For instance, having five front-end developers can speed things up but will cost more per hour. Smaller teams take longer but are usually cheaper.
Location of the Team
Where your developers are located makes a big difference. Developers in North America charge $150–200 per hour. But if you hire developers from Eastern Europe or India, you might pay just $20–50 per hour. Choosing the right location can save you a lot of money.
Conclusion
Following a clear app development process can turn your app idea into reality. Each step is crucial for building a successful mobile app.
By understanding these steps, you can plan better for your app project. Take the time to think about every detail. This will help you make the most of your investment and achieve great results.
At Linkitsoft, we make mobile app development simple and smooth. Our team turns big challenges into easy and creative steps. We are experts in managing every part of the mobile app process. From planning to the final launch, we ensure every step is done with care and skill.
We know app development is about more than just writing code. It’s about building digital tools that users love and that add value to your business. Our team offers complete app development services. This includes planning, design, coding, testing, and ongoing support.
Whether you’re a startup with a fresh idea or a big company looking for change, we’re here to help. Don’t let your app idea stay in your head. Let us turn it into a product that makes a difference.
Contact Linkitsoft today for a free consultation. Take the first step to bring your app to life. Your success is our goal, and we’re ready to help you get there.


