
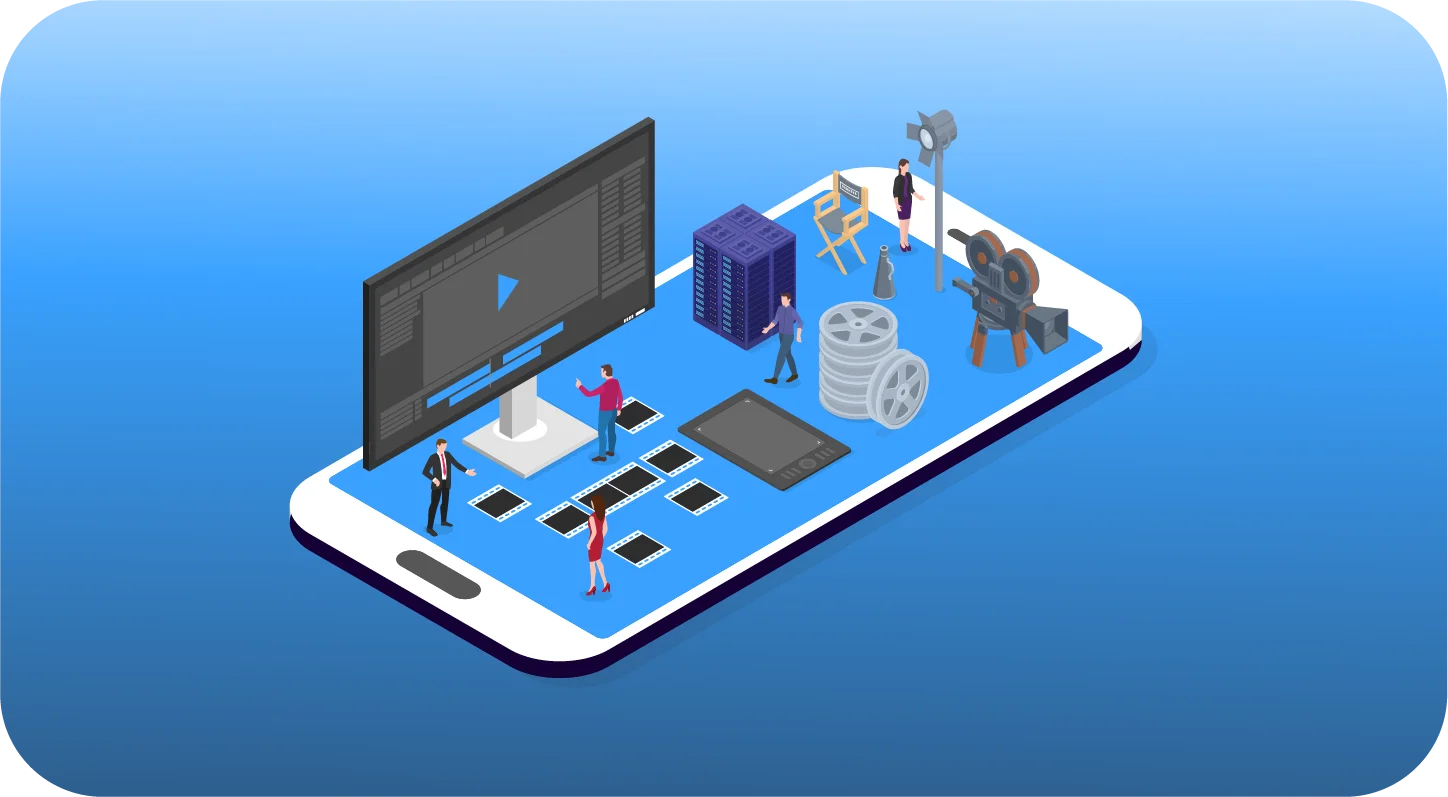
Do you remember when we had to go to a Blockbuster store to rent a movie? Or when we had to sit in front of the TV at a set time to watch our favorite shows? Things have changed a lot. Now, we can watch anything, anytime. This is all thanks to OTT platforms. OTT stands for “Over-The-Top.” These apps stream videos over the internet. Think of Netflix, Hulu, Disney+, or even smaller apps that focus on one type of content.
The growth of OTT has made it easier for people to share videos with the world. You no longer need a TV station or cable company. Maybe you’re thinking, “That sounds cool, but building an app like that must be hard and super expensive, especially for a beginner.”
Yes, building a huge platform like Netflix takes a lot. But making your own simple OTT app? That’s actually very doable. Thanks to new tools, OTT App Development is easier than ever. If you have a good idea and want to learn, you can start with something small. A basic MVP (Minimum Viable Product) is a smart first step.
This guide is here to help you start. We’ll walk you through the full process step by step. We’ll stick to the basics and use tools made for beginners. By the end, you’ll understand how to get your videos streaming. Whether this is a hobby, a business idea, or part of your bigger mobile app plan, you’re in the right place.
Understanding the Basics
OTT apps let people stream video or sound over the internet. You don’t need cable or satellite TV anymore.
In simple terms, OTT app development is a process of making an app that lets people watch videos or listen to music anytime. People use them on smart TVs, phones, and tablets. The OTT market is huge right now. Experts think it will make $343 billion worldwide by 2025. On average, people now spend about 17 hours a week watching streaming content. And get this—Netflix alone had 282 million users in 2024. These numbers show one thing: people love streaming, and they want more.
This is why so many new companies are interested in OTT app development. It’s a smart move in today’s digital world.
Making OTT apps isn’t just for big companies now. With today’s tools and cloud services, anyone can try. Whether you want to build a small app for a special group or dream big, the first step is always the same: build a strong MVP.
That’s how success begins.
What are the Key Components of building an OTT app?
When we start OTT app development, we need to add a few key parts. This is true, especially if we start with a basic MVP (Minimum Viable Product). It’s also true when we are developing mobile apps. Let us walk you through the main building blocks.
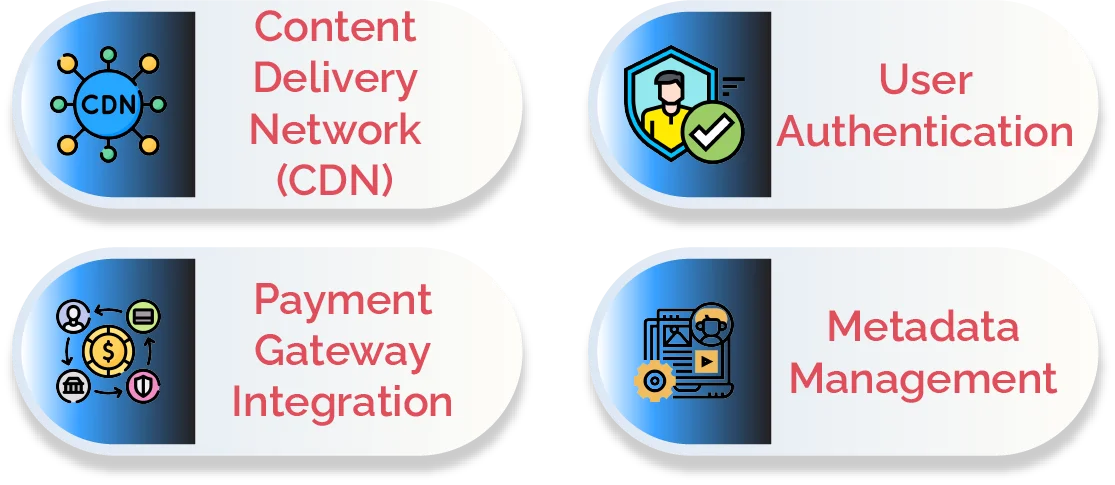
Content Delivery Network (CDN)
A CDN is a group of servers placed in different places. These servers hold copies of your videos. This helps videos load faster for people, no matter where they live. Without a CDN, users far away will face slow loading and lots of buffering.
If you want to develop your OTT app, you must have a good CDN. Some good options are AWS CloudFront, Azure CDN, Google Cloud CDN, or Akamai. For instance, Netflix created its own CDN called Open Connect. It streams their videos more effectively all over the world.
Here is how: You first store your videos in cloud storage such as Amazon S3. The CDN then caches the content from there and stores it on its local servers. Users get the videos fast. In addition, you can implement policies for how long content resides in the cache. You may even make it span regions. This is essential, even for an MVP with minimal size. It ensures your users have smooth video playback from the very beginning.
User Authentication
Every OTT app development needs a login system. This is how we make sure that only the right people watch the right content. Usually, users sign up and log in using email and password. Or they can use Google or Facebook to log in. Once they log in, we use things like JSON Web Tokens or cookies to keep the session going.
In the backend, we can use tools like Passport.js (for Node), Django AllAuth, or Firebase Auth. These help us manage login tasks safely. On mobile, we can also let people log in with Apple or Google accounts.
This login step also connects with other parts. For example, when a user wants to watch a video, the app checks if the login is valid. If it is, the app shows the video or gives access. This step is key in building any OTT app. It’s important for big apps and for MVPs that need to show custom content. It also matters a lot when you build mobile apps.
Payment Gateway Integration
To make money from your OTT app, you need a way to collect payments. On the web, you can use Stripe, PayPal, or Braintree. These help you charge users for subscriptions or single videos.
When you build a web streaming app, you should add a payment system like PayPal, Stripe, or Braintree.” If your app is on mobile, though, you need to use Apple’s or Google’s in-app buying tools. You can’t use Stripe for in-app buys.
It’s smart to plan how you will earn money early. In 2024, about 60% of OTT money came from subscriptions (SVOD). The rest came from ads (AVOD) and single buys (TVOD). So, your payment tool should support many features. These include recurring charges, free trials, plan changes, and support for global payment methods. All of this should be planned early, even for a small MVP. This is true if you’re developing mobile apps, too.
Metadata Management
Metadata is extra information about videos. This includes things like the title, genre, actor names, images, and more. You need this to build your video list and search feature. You should store this info in a database or CMS (Content Management System).
Many people use headless CMS tools like Contentful, Strapi, or Hygraph. For example, Hygraph says that “metadata is very important in streaming apps. It helps people know what the video is about and find it fast.” So, for every video in your database, you should store all key info—title, genre, rating, tags, language, and so on.
Good metadata lets users filter by genre or get smart suggestions. It also helps the app show full info in the catalog. This part of OTT app development is very important. And yes, it matters even more when you’re developing mobile apps or an MVP. You want your users to have a smooth, easy time from the start.
When you focus on these key parts, you build a strong base for your OTT app. Whether you’re aiming for a big launch or just building an MVP to test your idea, these steps are vital. And if you’re working on mobile apps in the streaming world, this plan helps you grow with real feedback from your users.
What are the key steps to develop an OTT platform?
Now that you know what makes an OTT app development work—like CDNs and payment tools—let’s move on. In this section, we’ll show you how to build your own OTT platform from the start. We’ll take you through each step. Many great SaaS ideas begin this way. Most start with a small version of the app (called an MVP) made for video or live streaming.
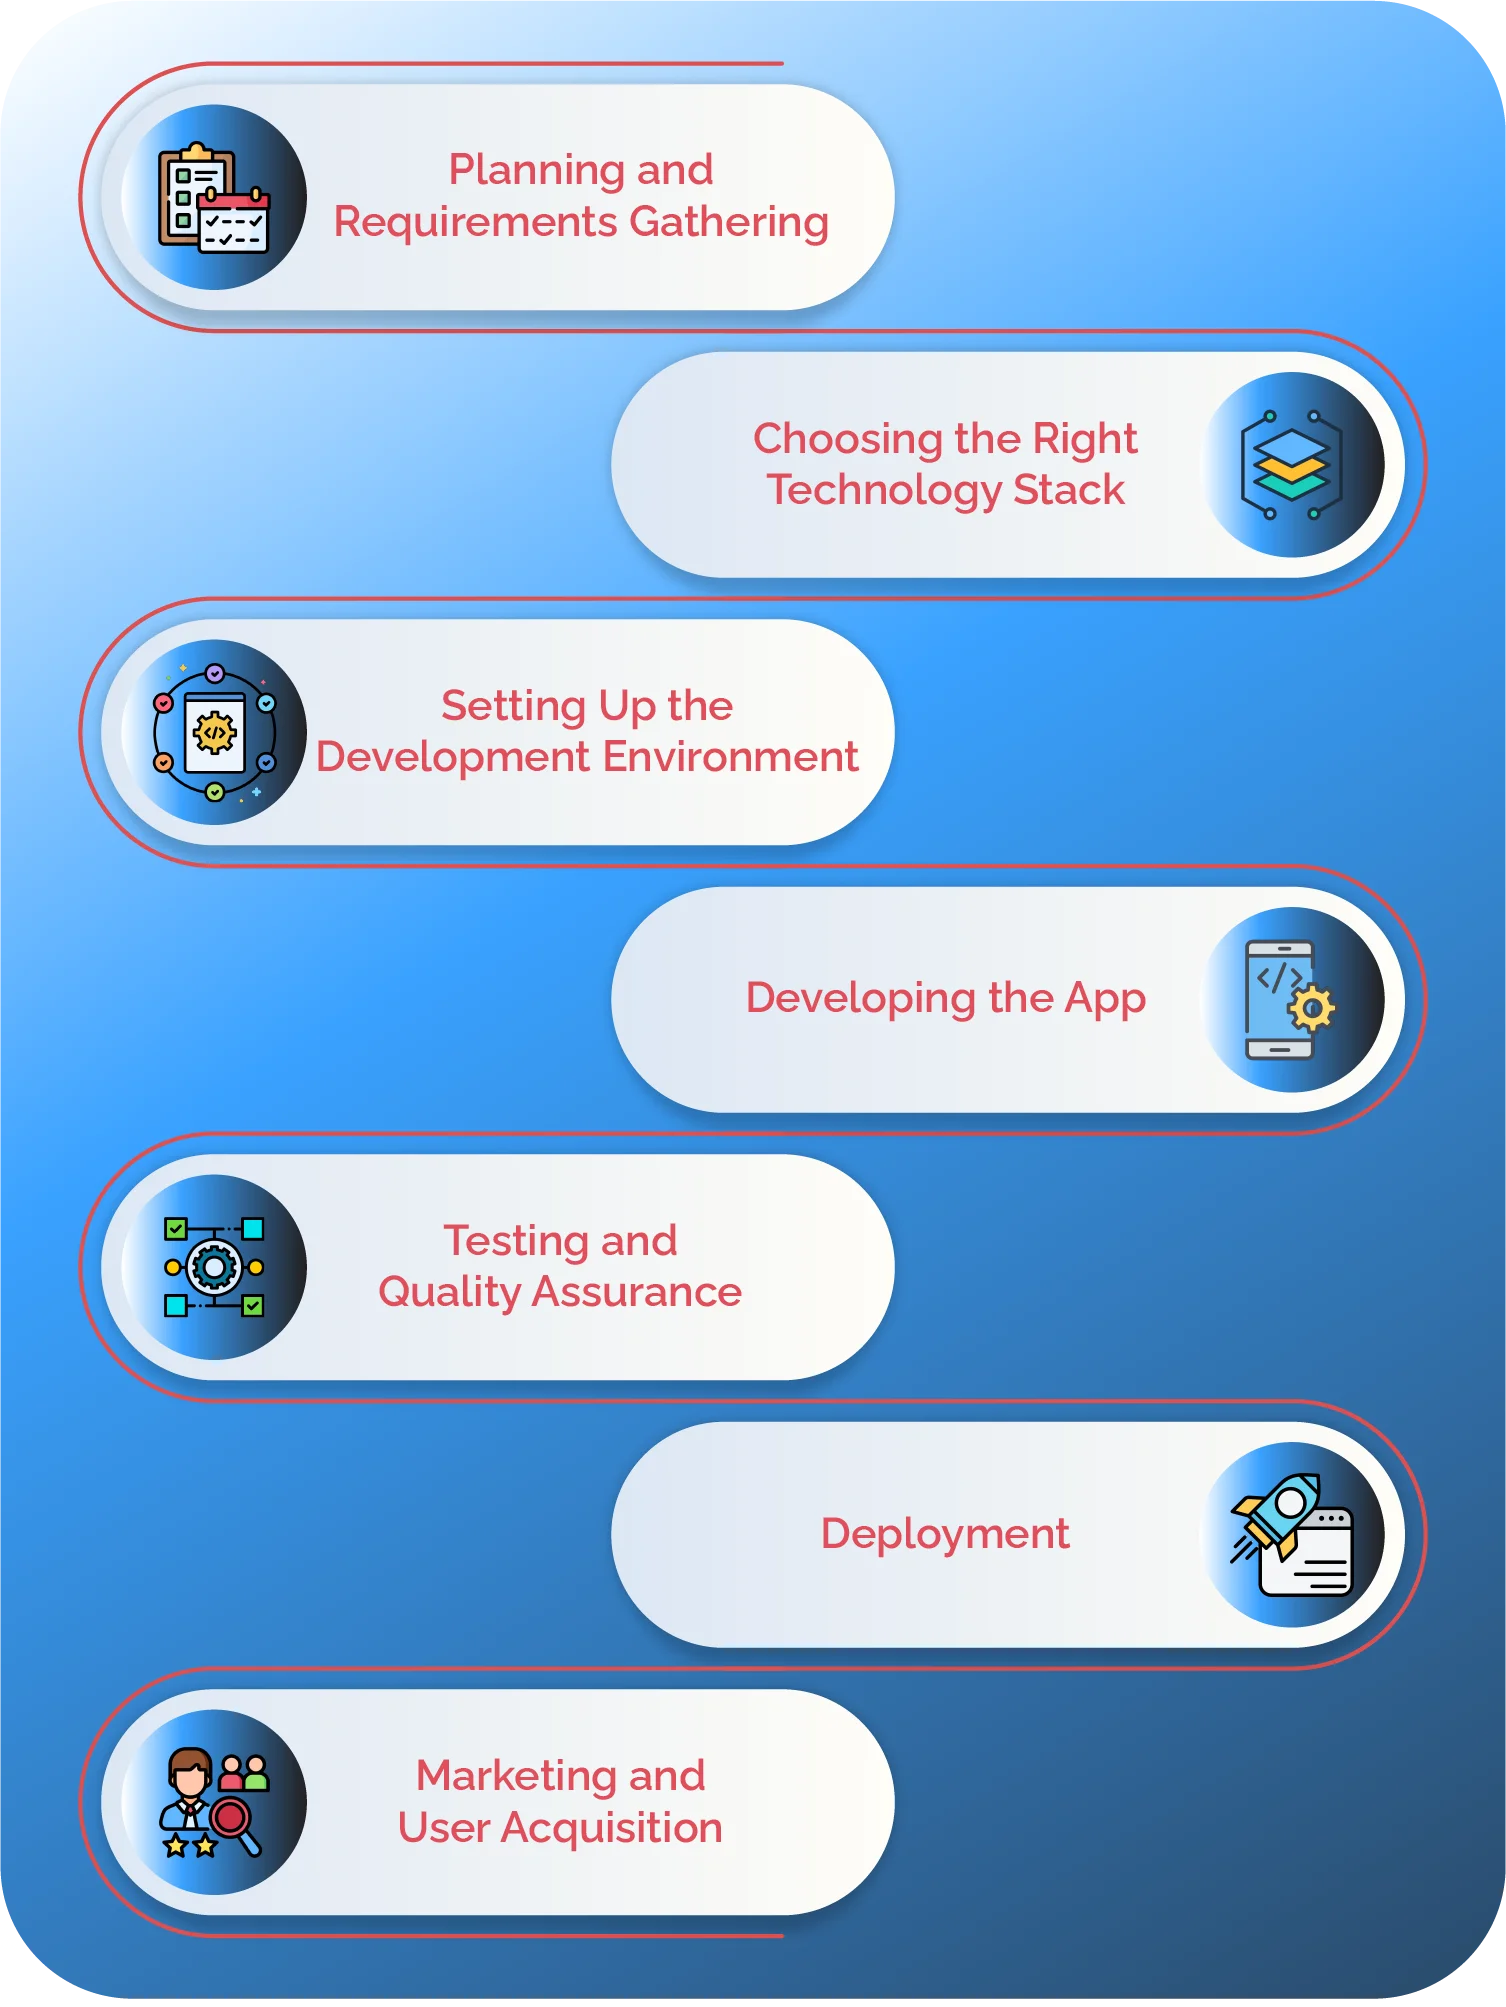
Planning and Requirements Gathering
Define Your Niche
First, decide what kind of content your app will show. Will it be a movie app, a sports app, a kids’ cartoon app, or something else? Pick a theme and stick to it. (Many top apps focus on just one area. For example, Disney+ Hotstar is big in India because it shows local sports and fun shows.) A strategy that works especially well if you partner with a Movie and Sports App Development Company that understands how to build engaging, feature-rich platforms tailored to fans. Make a list of types of content you want to show, like news, sports, games, or school videos. Knowing your niche will help you plan your features and how to promote your app.
Feature List
Next, make a list of all the things your app must do. Most OTT apps include:
User Accounts/Authentication
Let people create accounts, sign in, and manage their profiles. Many apps let one account have more than one profile (so each family member has their own space).
Video Playback
Add a video player that can play both live and recorded videos. It should support smooth streaming (like HLS or DASH). It should also have basic buttons like play, pause, and video quality.
Search and Discovery
Your app should help users find content fast. Add search tools, filters by type or topic, and show video suggestions. People should be able to look up videos by title, genre, actor, or topic.
User Profiles
It lets users save their favorite videos, keep a watching history, and make their own choices. (Netflix, for instance, allows five user profiles per account. Each person can keep their own list.)
Notifications
Send alerts by email or push messages. These can tell users about new episodes, shows they may like, or payment updates. These alerts help users stay active on your app.
Comments/Ratings (Optional)
If you want, you can let users leave comments or give star ratings. This makes the app more social. But it also means you’ll need someone to keep an eye on what users post.
Settings
Add simple settings like language, subtitles, parental controls, and video quality.
Choosing the Right Technology Stack
Picking your tech stack early is a big deal. It helps shape how you build your app from the start. So, let’s break it down in a simple way.
Frontend
Web
Use React.js (or Angular or Vue). These tools help you build fast and smooth UIs. They work really well with modern CSS tools like Tailwind. Even better, you can use UI kits like Shadcn UI to move faster.
Mobile
If you want to build for iPhones, go with Swift. For Android, Kotlin is your best pick. But if you want to build once and run it on both, then React Native or Flutter are great choices. They let you write one set of code and use it for both apps.
In short, choose tools your team already knows. For example, Netflix uses React for its frontend. It helps them load content faster and test new features more often.
Backend
Node.js/Express
This is great if you need fast APIs and real-time features. Many video apps use Node for the backend.
Python (Django/Flask)
Love Python? Django gives you many built-in tools, like login and database support. Flask is simpler and gives you more control.
Other choices are also possible, such as PHP with Laravel, Ruby on Rails, or Go. Netflix even employs numerous tools such as Java, Python, and Node. What is more important is choosing the backend that allows you to create APIs quickly and talk to your database in an easy manner.
Consider microservices
When your app becomes larger, dividing it into little pieces (e.g., one for users, one for billing, one for content) can make it scale more effectively and operate more quickly.
NoSQL (such as MongoDB)
These are suitable when your data does not have a strict structure. You can store things like session or log data with ease.
SQL (PostgreSQL or MySQL)
These are suitable for structured data such as user information or payment information. Netflix utilizes both PostgreSQL and MySQL.
Both types are utilized in many apps. This is known as polyglot persistence. For instance, you may use MongoDB for video information and PostgreSQL for payments and users. So, choose according to your data requirements and how much you need to scale.
Setting Up the Development Environment
IDEs and Tools
First, install the proper tools to develop your app. For an Android app, use Android Studio for an iOS app, use Xcode. Forn app that’s both web and mobile, use VS Code or WebStorm. Then, create an emulator or simulator to display how your app appears on various devices.
Version Control
Then, make a Git repository for your project. Choose GitHub, GitLab, or Bitbucket. It’s advisable to use Git early. It saves your work, lets you share with others, and allows you to go back in case anything goes wrong. Make distinct branches, too. For instance, have “main” for the completed product, “dev” for testing, and “feature” for updates.
Then, add external tools with a package manager. For React or Node, use npm or yarn. Swift, use CocoaPods or Swift Package Manager. For Android, use Gradle. Always commit the lockfiles. This makes building the same across all devices.
CI/CD
Even as a beginner, it is advisable to experiment with Continuous Integration. Use GitHub Actions to verify your code after each time you push the changes. This helps you detect bugs prematurely. If you’re comfortable, you may even automate sending new versions to the test server through a small pipeline.
This setup is a lot like how SaaS apps start. Getting organized early saves time and money later.
Developing the App
Frontend (UI/UX & API Integration)
Now build the app that users will see. Use your UI tools to make screens for browsing and watching videos. You can use things like Shadcn UI or Tailwind to build the homepage, video list, and video player. Also, make sure the app works on phones and TVs.
Use HTML5 <video> or the built-in video tools to play videos. To stream videos, use HLS or DASH. When your app runs, it should call APIs like /login, /videos, or /play/{id}. These APIs will check if the user is logged in and then return video links or information.
For a better user experience, add a “Continue Watching” section. Autoplay previews are nice too. Make images load only when needed (this is called lazy loading). Also, it shows loading icons when videos buffer. Use good design rules like clear menus, big, readable text, and buttons that make sense.
Backend (Auth, CMS, Payments)
Now build the part of the app that works in the background.
Authentication & User Service
First, set up sign-up and login endpoints. For example, you can use /api/register and /api/login. These will make new user records and give them a secure token (like a JWT). Then, all content APIs are protected by first checking the token.
Content/API Service
Next, make endpoints that give out video info and video links. You can keep this info in a database or a headless CMS.
Video Transcoding/Storage
If you want to upload and process your own videos, use a tool like FFmpeg or a cloud video service. These will change videos into the right format for streaming.
Payment Integration
Also, add a way to take payments. Websites such as Stripe and PayPal are good options. Don’t forget to handle webhooks, so your system knows when someone pays or cancels.
Admin/CMS (optional)
If you want to let your team upload videos or change content, add an admin panel, or use a headless CMS. Tools like Strapi or Contentful are easy for non-coders to use. These tools work like project software that helps teams stay in sync.
Testing and Quality Assurance
Let’s talk about testing. It’s one of the most important steps. And it’s not just one type of test. You need to test your app in many ways.
Start with unit testing.
This means checking small parts of your app, like buttons or screens. You test each part on its own. These tests are often done with code, so they run fast and often.
Next, do integration testing.
This step checks how those small parts work together. For example, does the sign-up page connect well with the login page? If they don’t, users will face issues.
After that, run user acceptance testing (UAT)
This is where real users or team members use the app. They give feedback. They tell you what works and what doesn’t. This is key for knowing what users want.
Then comes performance testing
This checks how fast and smoothly the app runs. Since OTT apps get lots of traffic, this test makes sure your app won’t crash when too many people use it.
Don’t forget cross-platform testing.
Your app should work on all devices—phones, tablets, TVs, and more. No one wants to open an app that breaks on their phone.
By testing step by step and fixing bugs, you make your app stronger. And what’s more, this helps you guess your MVP cost better. If you skip testing, you’ll likely have to spend more later. So, take testing seriously.
Deployment
Now, after testing, it’s time to launch your app.
First, use cloud services.
These help run your backend safely and smoothly. They also let you scale fast when more users join.
Next, consider using container tools like Docker.
These tools keep your app the same on all systems. That way, it won’t break when moving from test to live mode.
Also, set up a CDN
A CDN (like AWS CloudFront) helps users get videos faster. It sends content from servers close to them. So, videos load quicker and don’t freeze.
These steps help with all kinds of apps, not just OTT platforms. They work for SaaS apps, too. That’s because cloud hosting and CDNs are key parts of the total cost.
So, whether you’re building a video app or a project tool, smart launch plans mean faster load times, fewer crashes, and happy users.
Marketing and User Acquisition
Making an app is just the start. Now you need people to use it. And there are many good ways to do this.
Try social media marketing.
Go where your users hang out. Post on TikTok, YouTube, Instagram, and Twitter. Share cool trailers or short clips. You can also run ads on Facebook and Instagram. Pick your audience by age, hobby, or location. Short videos work best. That’s why many OTT apps use short, fast content like ReelShort. This keeps users watching and wanting more.
Next, try content marketing.
Start a blog or YouTube channel. Talk about your topic. For example, if your app teaches, write helpful articles or post videos from your lessons. This helps people find your app in search engines. Good content makes you an expert and brings more users over time. You can also team up with creators or influencers. This spreads the word faster. Many mobile apps grow this way during OTT app development.
Don’t forget app store optimization (ASO)
This means making your app look great in stores. Use keywords like “video streaming” in your title and description. Add nice screenshots and a strong preview video. Data from AppTweak shows this works well. In early 2024, about 1 in 4 people who view an app page install it. That’s a big deal! Also, around 3.8% of people who see your app in search actually download it. So, a good app store page brings in more users. This is super important in OTT app development, where most users come through mobile.
Also, reach out for PR and partnerships.
Ask tech sites or blogs to write about your launch. Try to partner with TV makers or other apps. For example, getting your app preloaded on smart TVs helps a lot. These ideas are great during the MVP stage. They help get feedback and build buzz early.
Use analytics.
Tools like Google Firebase or Mixpanel show what users do inside your app. You’ll see what ads work best and where people leave. This helps you tweak your plan. Maybe you’ll spend more on ads that work well. Or fix parts of the app where users get stuck. These small changes make a big difference. And they help you grow your app step by step.
Using these tips together will bring in users and keep them coming back. And don’t stop there. Keep testing and improving your marketing as your app grows. Whether you’re starting fresh or adding features, make sure your marketing plan fits your OTT app development goals.
Conclusion
When you follow these tips—plan well, pick the right tools, build step by step, and market smart—you can start an OTT app development from the ground up. A strong tech base mixed with a fresh business plan is the key. This is how you turn your idea into a real app that people use and love.
Remember, OTT App Development is more than just writing code. It’s about building a fun, smooth app that works well on all devices. Smart MVP (Minimum Viable Product) launches and constant updates help your app grow strong and fast.
The streaming world is growing fast. If you’re still thinking about it, you’re not just missing out. You’re watching others win the race while you’re stuck at the start. Think about the money you’re losing. Think about all the people you could reach. While others are starting OTT app development, your great content is just sitting there unseen.
Don’t let that happen.
At Linkitsoft, we don’t just build apps. We help you build your future. Our expert team knows how fast this market moves. We build apps that are fast, easy to use, and made just for you.
Choosing us means you avoid big mistakes. It means you grow faster. We know all the steps—from your MVP to your full platform. We help with both OTT App Development and mobile app building. So you can focus on your big picture.
This is your chance. The video world is moving fast. With us, you won’t just keep up—you’ll lead. Don’t be the one watching from the sidelines. Be the one leading the way.


